There are two ways that you are able to set due dates in your course. You can set the due dates using Scheduling and using Assessment Settings.
How to set due dates using Scheduling
- Log into your instructor account and navigate to the Manage section

- Scroll down to the Curriculum section and select Scheduling

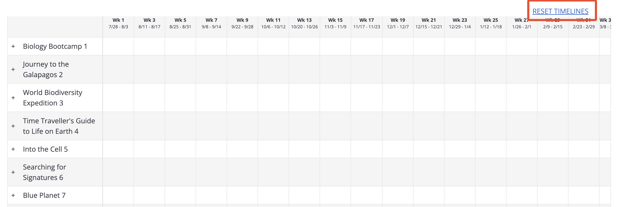
- Click on RESET TIMELINES
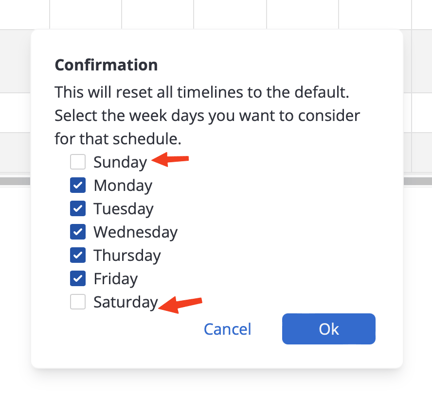
- NOTE: Select Saturday and Sunday in the pop-up if you would like to set due dates for the weekend.
- NOTE: Select Saturday and Sunday in the pop-up if you would like to set due dates for the weekend.
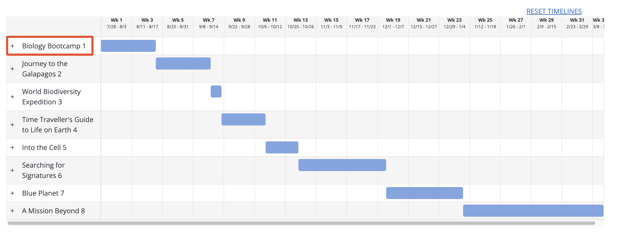
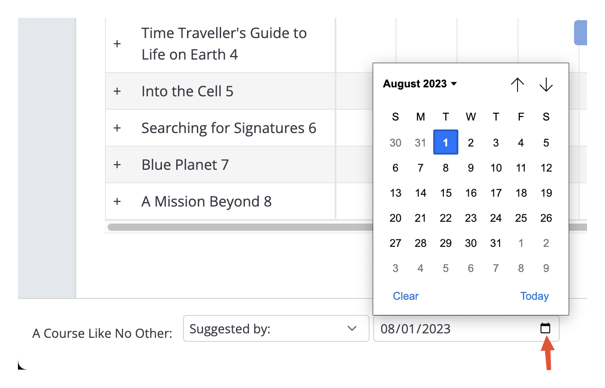
- You should now see a template timeline for the units. You can click on a unit title to view the lessons within the unit. Clicking on the lessons lets you set a due date. You can either drag the lesson's icon to the due date you would like, or you can set it using the calendar at the bottom.
Important Notes:
Please click on Save Changes on the bottom right of the screen to save you deadlines.
If you'd like to set Suggested or Hard Due Dates, please view below.
How to set due dates using Assessment Settings
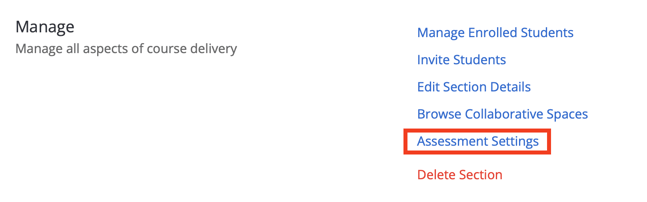
- Log into your instructor account and navigate to the Manage section
- Scroll down to the Manage section and select Assessment Settings.
- In this view, you are introduced to many options. You can hover over the label of each option to get a description of its task.
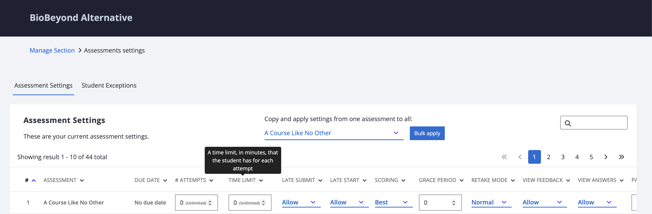
- To set a Due Date, search for the lesson you would like to set a due date for, using the Search Bar. Then click on No due date and select the date and time.

- You can set a soft due date (the students can continue to work on the assignment past the deadline) by having LATE SUBMIT and LATE START set to Allow. You can set a hard due date (the students cannot continue to work on the assignment past the deadline) by having LATE SUBMIT and LATE START set to Disallow.